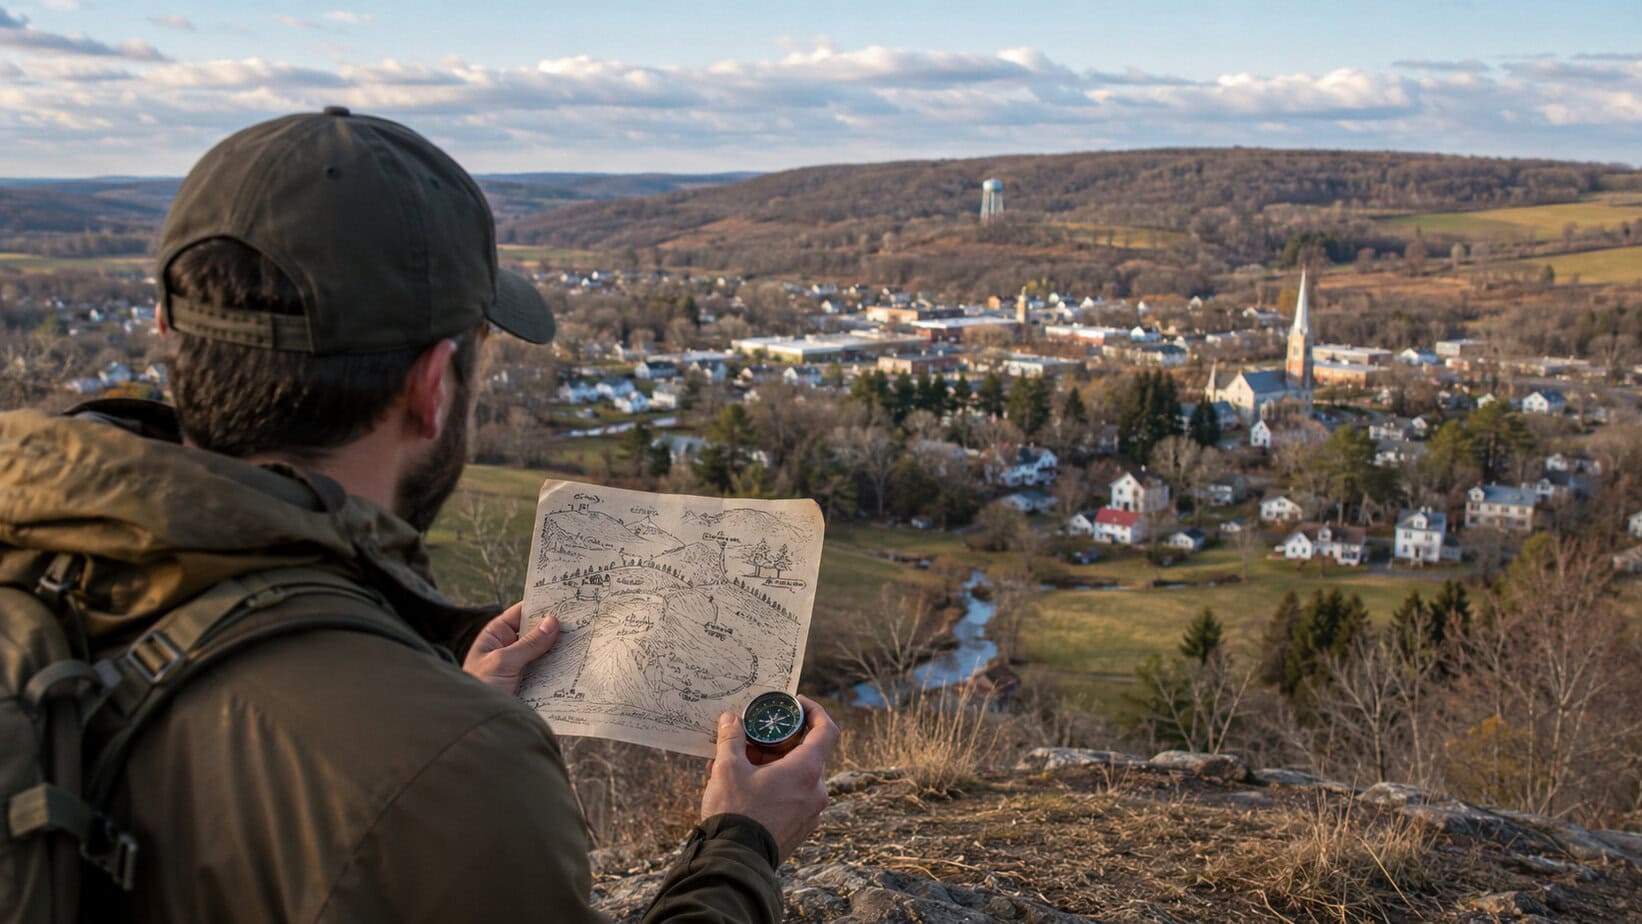
Most people have never thought seriously about how they would navigate home if their phone died, the cell towers went down, and every road in their area was either blocked or too dangerous to drive.
The assumption is always that something will work out, that someone will help, or that the situation will resolve itself before it gets that bad. But real preparedness asks a harder question: what would you actually do, step by step, if none of those things happened?
This is where dead reckoning navigation enters the picture, and why it matters for anyone who takes survival planning seriously. Dead reckoning navigation, at its core, is the practice of calculating your current position based on a known starting point, a direction of travel, and an estimated distance covered. Sailors used it to cross oceans.
Military units use it to move through enemy territory at night, but with some preparation and deliberate mental work, you can use it to move cross-country through your own town even when every modern tool you normally rely on has failed.
The specific skill this article focuses on is not general navigation theory. It is about doing the mental and physical work ahead of time, before anything bad happens, so that your brain already holds a rough working map of your area. That means studying terrain features, memorizing key landmarks, understanding the distances between the places that matter to you, and building a personal navigation framework you can run from memory.
Think of it as loading a map into your head so you can move through familiar territory that you may have driven a hundred times but never actually walked. The goal is to get home, or get somewhere safe, using nothing but your own knowledge, a compass, and the skills covered in this guide.
Every other navigation method you know has a failure point. Maps need to be physically on you. A compass needs you to know what bearing to walk. GPS needs power, satellite access, and functioning infrastructure. Apps need both a charged phone and a cell signal. Dead reckoning navigation removes almost all of those dependencies because the system lives inside your head. Once you have put in the prep work, the only things that can fail are your memory and your judgment, which are both improvable.
The deeper reason dead reckoning matters in a survival context is that disorientation is one of the fastest ways a manageable situation becomes a life-threatening one. People who panic in the woods, in a blacked-out city, or in the aftermath of a disaster almost universally describe the same feeling: they stop knowing where they are in relation to where they need to be.
That spatial confusion is what dead reckoning pushes back against. If you have a starting point, a direction, and a distance estimate, you always have something to work with. A rough location beats no location every single time.
The website land-navigation.com describes it well: “If I go in this direction for this distance, I must be right here.” That simple logic is the backbone of the entire method. It is elegant because it scales. You can apply it over 200 meters or 20 kilometers. You can use it in daylight or darkness, on foot or with any non-motorized movement. The more you internalize it, the more automatic it becomes.
Understanding the Terrain Around You Before You Ever Take a Step
The single biggest mistake people make when thinking about survival navigation is assuming they will figure it out when the time comes. They know the general layout of their town from years of driving, which means they know roads. Roads are fine until they are not available, and in a serious enough situation, they often will not be.
What you actually need is a mental model of the terrain itself: the ridgelines, the drainages, the low spots that flood, the open fields versus the dense treelines, the elevation changes that matter on foot even if they are invisible from a car window.
Start with a topographic map of your area. The USGS provides free digital access to topographic maps through their national mapping program, and you can download, print, and study them at home.
The USGS explains that topographic maps “render the three-dimensional ups and downs of the terrain on a two-dimensional surface” using contour lines, which show both natural features like ridges and valleys and human-made structures like roads and major buildings. Learning to read those contour lines is not optional for this kind of preparation. It is the very first step.
Once you have your topo map, you want to identify three categories of terrain features in your specific area.
First, linear features that you can use as baselines: rivers, streams, railroad lines, power line cuts, ridge crests, and major roads.
Second, point features that are large and stable enough to recognize from a distance: water towers, transmission towers, distinctive hilltops, large industrial buildings, and church steeples.
Third, area features that affect your route: bodies of water, dense forest blocks, open agricultural land, and developed suburban or urban zones.
Building this three-tier mental picture of your area is the foundation that makes everything else in dead reckoning work.
How to Study and Memorize Your Local Terrain Without Leaving Your House
You can do a surprising amount of the most important preparation work sitting at your kitchen table. Pull up your USGS topo map, your county GIS viewer if one is available, and satellite imagery of your area side by side. What you are doing is building correlation, connecting what things look like from the air with what the contour lines tell you about elevation and drainage, and with what you already know from driving through those same areas at ground level.
Pick three or four key destinations that matter to you in a crisis scenario: your home, your workplace, a family member’s house, a predetermined rally point, a reliable water source outside town. For each pair of destinations, trace two or three possible overland routes. Not road routes, but actual cross-country routes that use terrain features as guides. Note where each route crosses water, where it follows a ridgeline, where it passes through open ground that would expose you to view, and where it moves through cover. Write this down in a waterproof field notebook you keep with your kit.
A waterproof field notebook is not optional for this kind of planning. Something like the Rite in the Rain All-Weather Tactical Field Notebook is exactly the kind of tool you want. Your notes survive rain, sweat, and rough handling, which matters when you have put serious time into recording your route plans, distance estimates, and terrain notes.
Then go back to that map repeatedly over a period of weeks. Quiz yourself. Cover the legend and try to recall what each symbol means. Trace your routes with your finger while describing the terrain out loud. Draw rough sketch maps from memory and then compare them to the real thing. This kind of deliberate rehearsal is what turns information into actual knowledge you can access under stress.

Setting Up Landmark Anchor Points Throughout Your Area
Landmarks do the heavy lifting in any practical dead reckoning system applied to familiar territory. They are the checkpoints that reset your positional uncertainty as you move, the moments when you can look up from your compass and pace count and say, “I can see the water tower, and I know exactly where I am relative to my destination.” The goal of pre-mapping your area is to load as many of these landmarks into your memory as possible, along with a precise understanding of their relationships to each other and to the places you need to reach.
Not every visible structure makes a good landmark for navigation purposes. You want features that are large and distinctive, visible from multiple directions or over significant distances, and stable enough that they will still be there after a disaster. A distinctive hilltop, a water tower, a large grain elevator, a communication tower, a major river bend visible from elevated ground, or a prominent cluster of industrial buildings on the edge of town are all solid choices. A gas station sign or a particular house is too small and too easy to confuse with similar features nearby.
For each of your selected landmarks, learn three things: its approximate compass bearing from each of your key locations, the straight-line distance to it, and what it looks like from each direction you might approach it from. That last point matters more than most people expect. A water tower looks very different when you approach it from the south versus from the east, especially if one approach is uphill. Pre-visualizing your landmarks from multiple angles gives you far better recognition under stress.
Distance is the component of dead reckoning that most people underestimate, both in difficulty and in importance. Your compass tells you which direction to go. Your pace count tells you how far you have gone. Together they are the entire mechanism. But pace counting has to be calibrated to be useful, and that calibration takes actual walking on actual terrain.
The pace count method works by counting the number of double steps, specifically counting every time one particular foot hits the ground, required to cover a set distance. The Army Study Guide and the official FM 3-25.26 both recommend establishing your personal pace count on a flat, measured 100-meter course and then adjusting for terrain variables. The average adult male covers 100 meters in roughly 60 to 70 paces on flat ground, but that number changes with slope, load, vegetation density, and fatigue.
What this means practically is that you need to walk a measured distance in conditions similar to those you expect to navigate through. If most of your likely routes run through suburban neighborhoods with occasional wooded sections, walk those environments on a calibrated course. If you live in hilly terrain, calibrate uphill and downhill separately. Uphill shortens your pace; downhill lengthens it. The more precisely you know your own counts under different conditions, the more accurately dead reckoning will place you on the map.
Once you know your pace count, you need a reliable way to track it over long distances. Ranger beads, also called pace count beads, are the standard tool for this purpose. They are a simple cord with 13 beads split into two groups: nine lower beads representing 100-meter increments, and four upper beads representing kilometers. Every 100 meters, you slide one lower bead down. When all nine are slid, you slide one upper bead and reset the lower group. A set of Ranger Pace Count Beads by RedVex clip to your kit, cost almost nothing, and give you reliable tracking across multiple kilometers without any mental load.
Using a Compass Correctly When Everything Else Has Failed
A compass is the one piece of hardware that dead reckoning absolutely requires, and choosing and learning to use one properly is a prerequisite for everything else in this guide. A baseplate orienteering compass lets you take a bearing directly from a map, set that bearing, and then follow it across terrain by keeping the needle aligned and trusting your legs. A lensatic compass, the military standard, uses a sighting wire and rear notch system that gives you more precise directional readings and works well at night.
For most survival preppers doing cross-country navigation in familiar terrain, a quality baseplate compass with a rotating bezel is the right tool. Something like the Silva Lensatic 360 Compass gives you the precision of the military lensatic design in a durable aluminum housing, and the liquid-filled capsule keeps the needle stable even on the move. Practice with your specific compass until using it is completely mechanical.
One critical concept to have locked in before you need it is magnetic declination. Your compass points to magnetic north, not true north, and the difference between the two, called declination, varies by location and by year. In some parts of the country, that difference is less than two degrees and barely matters in practice. In others, it is over 20 degrees and will throw you badly off course over any significant distance if you ignore it. Find your local declination, write it in your field notebook, and know how to apply the correction when taking a map bearing.
Planning Your Primary and Alternate Routes in Advance
One route is not enough. Whatever situation forces you to navigate on foot through your own area will not be a controlled scenario that follows your expectations. Roads may be impassable in specific directions. Areas may be too dangerous, flooded, or blocked by rubble or crowds. You need at least two and ideally three distinct route options between your key locations, each using different terrain and different landmark chains.
When planning your primary route, aim for terrain that gives you consistent orientation cues. A route that runs along a ridgeline for part of its length, then drops into a valley with a stream you can follow, then climbs again to a hilltop with a visible landmark, is far easier to dead reckon through than one that crosses featureless flat suburban ground with no elevation reference. Dead reckoning is most accurate when you can regularly confirm your position against terrain features that appear on your mental map at the expected time and distance. Each confirmation resets accumulated error.
Urban and suburban navigation presents a specific challenge because the terrain is artificially flat and filled with similar-looking structures. Survival Dispatch covers this well in their article on urban land navigation, noting that “dead reckoning is a term used in navigation that refers to the process of calculating one’s current position by using previously determined positions, or targets” and that without clear anchor features like geographic high points, you need to rely more heavily on numbered streets and building relationships. This is exactly why pre-mapping your specific area, with its specific mix of urban and natural features, is so much more valuable than general navigation theory.
Here is the challenge that most navigation guides gloss over: knowing the theory is not the same as being able to move cross-country through terrain you have only studied on a map. You might have driven past a particular woodlot a hundred times, but you have never entered it, and you do not actually know whether the drainage on the north side of it is passable on foot or whether the hill shown on the topo is steeper in reality than the contour spacing suggests. Pre-mapping bridges that gap through a specific type of deliberate mental work combined with targeted ground truth checks.
The mental work starts with visualization. For each route segment you have planned, close your eyes and walk it in your imagination. Start at your known departure point. Pick a compass bearing. Identify what you would see at each stage: the open ground before the treeline, the fence you would have to cross, the creek that would appear about a kilometer in, the ridgeline beyond it. Do this repeatedly until the sequence feels automatic. Researchers studying military navigation have found that this kind of deliberate mental rehearsal significantly improves actual navigation performance in unfamiliar conditions, particularly under stress.
The ground truth component means actually going out and walking at least part of each route while conditions are normal. You do not have to cover every meter of every planned route. Walk the sections that are most uncertain: the woodland you have never entered, the field with unclear boundaries, the stream crossing that looks feasible on the map but might not be in reality. Even a single exploratory walk on a weekend afternoon will dramatically improve your ability to dead reckon through that terrain when the stakes are real. You are adding sensor data to the mental map you are building.
Correcting for Error and Staying on Track Over Long Distances
Dead reckoning accumulates error. This is not a flaw in the method; it is a mathematical reality of any position-tracking system that depends on measurements made under imperfect conditions. Over short distances, the error is small enough not to matter. Over several kilometers of cross-country movement through varied terrain, small errors in bearing or pace count can compound to place you significantly off your intended track. Understanding this in advance and building in correction mechanisms is what separates functional navigation from hopeful wandering.
The primary error-correction mechanism in land dead reckoning is aiming off, which means intentionally targeting a point to one side of your actual objective so that when you reach your baseline feature, you know which direction to turn. If you aim off to the left of a stream crossing, and you reach the stream, you know your objective is to the right. This eliminates the uncertainty of standing at a stream and not knowing whether you overshot left or right. It is a simple technique with a massive impact on practical accuracy.
Catching features work the same way. A road, river, or ridgeline running roughly perpendicular to your line of travel acts as a safety net. If you are moving northwest and there is a river running north to south, you know that if you reach the river without hitting your checkpoint, you have gone too far. Planning your routes so that catching features exist at intervals of one to two kilometers gives you regular error-reset opportunities and prevents small drift from becoming a serious problem.
Building Your Personal Pre-Map System and Making It Stick
Everything covered so far only delivers value if you do the work to build your own system around it. That means creating a personal pre-map document that captures your key terrain features, your landmark chain for each route, your calibrated pace counts for the terrain types in your area, and your route plans with their catching features and aiming-off points. This is a living document that you review periodically and update when the landscape around you changes.
The physical format of your pre-map document matters. You want something that is compact enough to carry in a field kit, durable enough to survive rough conditions, and written in a format you can read at a glance under stress. A waterproof notebook with a hand-drawn sketch map of your area, annotated with bearing angles, distance estimates, and landmark descriptions, is more valuable in a real scenario than any digital alternative that requires power to access.
Practice is the only thing that makes this skill durable. Navigation training sessions do not need to be elaborate. Pick a destination you cannot currently see, set a bearing on your compass, count your paces, and arrive at it accurately. Do this in daylight, then in low light. Do it with a light pack, then with a heavy one. Do it in clear weather, then in fog and rain. Each session builds the kind of muscle-memory confidence that remains accessible when your body is running on adrenaline and your rational mind is occupied with everything else a crisis demands.
The overarching principle here is that your home territory should never be a mystery to you on foot. Every weekend walk, every run on a new trail, every deliberate cross-country excursion through a patch of ground you have studied on the map but never visited, is an investment in the mental model that will carry you home if the time comes.
My Two Cents
I will be straight with you: most people will never need to dead reckon their way home through their own neighborhood. Hopefully that stays true for everyone reading this. But the value of building this skill is not just in the catastrophic scenario where GPS is gone and you have no other options. The value is in what the process does to your relationship with the ground you live on.
When you start studying your local topo map seriously, when you walk terrain you have only ever driven through, when you start seeing ridgelines and drainages instead of just streets and parking lots, something changes in how you move through the world. You stop being a passenger in your own landscape and become something more like an inhabitant of it. That is worth having regardless of whether disaster ever tests you.
The specific skills covered here: learning to read terrain, building landmark chains, calibrating your pace count, planning routes with catching features and aiming-off logic, are not esoteric military arts reserved for special operators. They are learnable by any adult willing to put in a few focused weekends of study and practice. The tools are cheap and the information is freely available. What it costs is attention and effort, and those are things entirely within your control.
Author Bio
Bob Rodgers is a lifelong outdoorsman, herbalist, and seasoned prepper with over 20 years of real-world survival experience. As the founder of PreppersWill.com, he shares practical advice on self-reliance, off-grid living, and disaster preparedness, no hype, just hard-earned lessons from decades of hands-on prepping.
Suggested resources for preppers:
Food preps when you lack money
The #1 food of Americans during the Great Depression
Survival Foods of the Native Americans
If you see this plant when foraging, don’t touch it!
